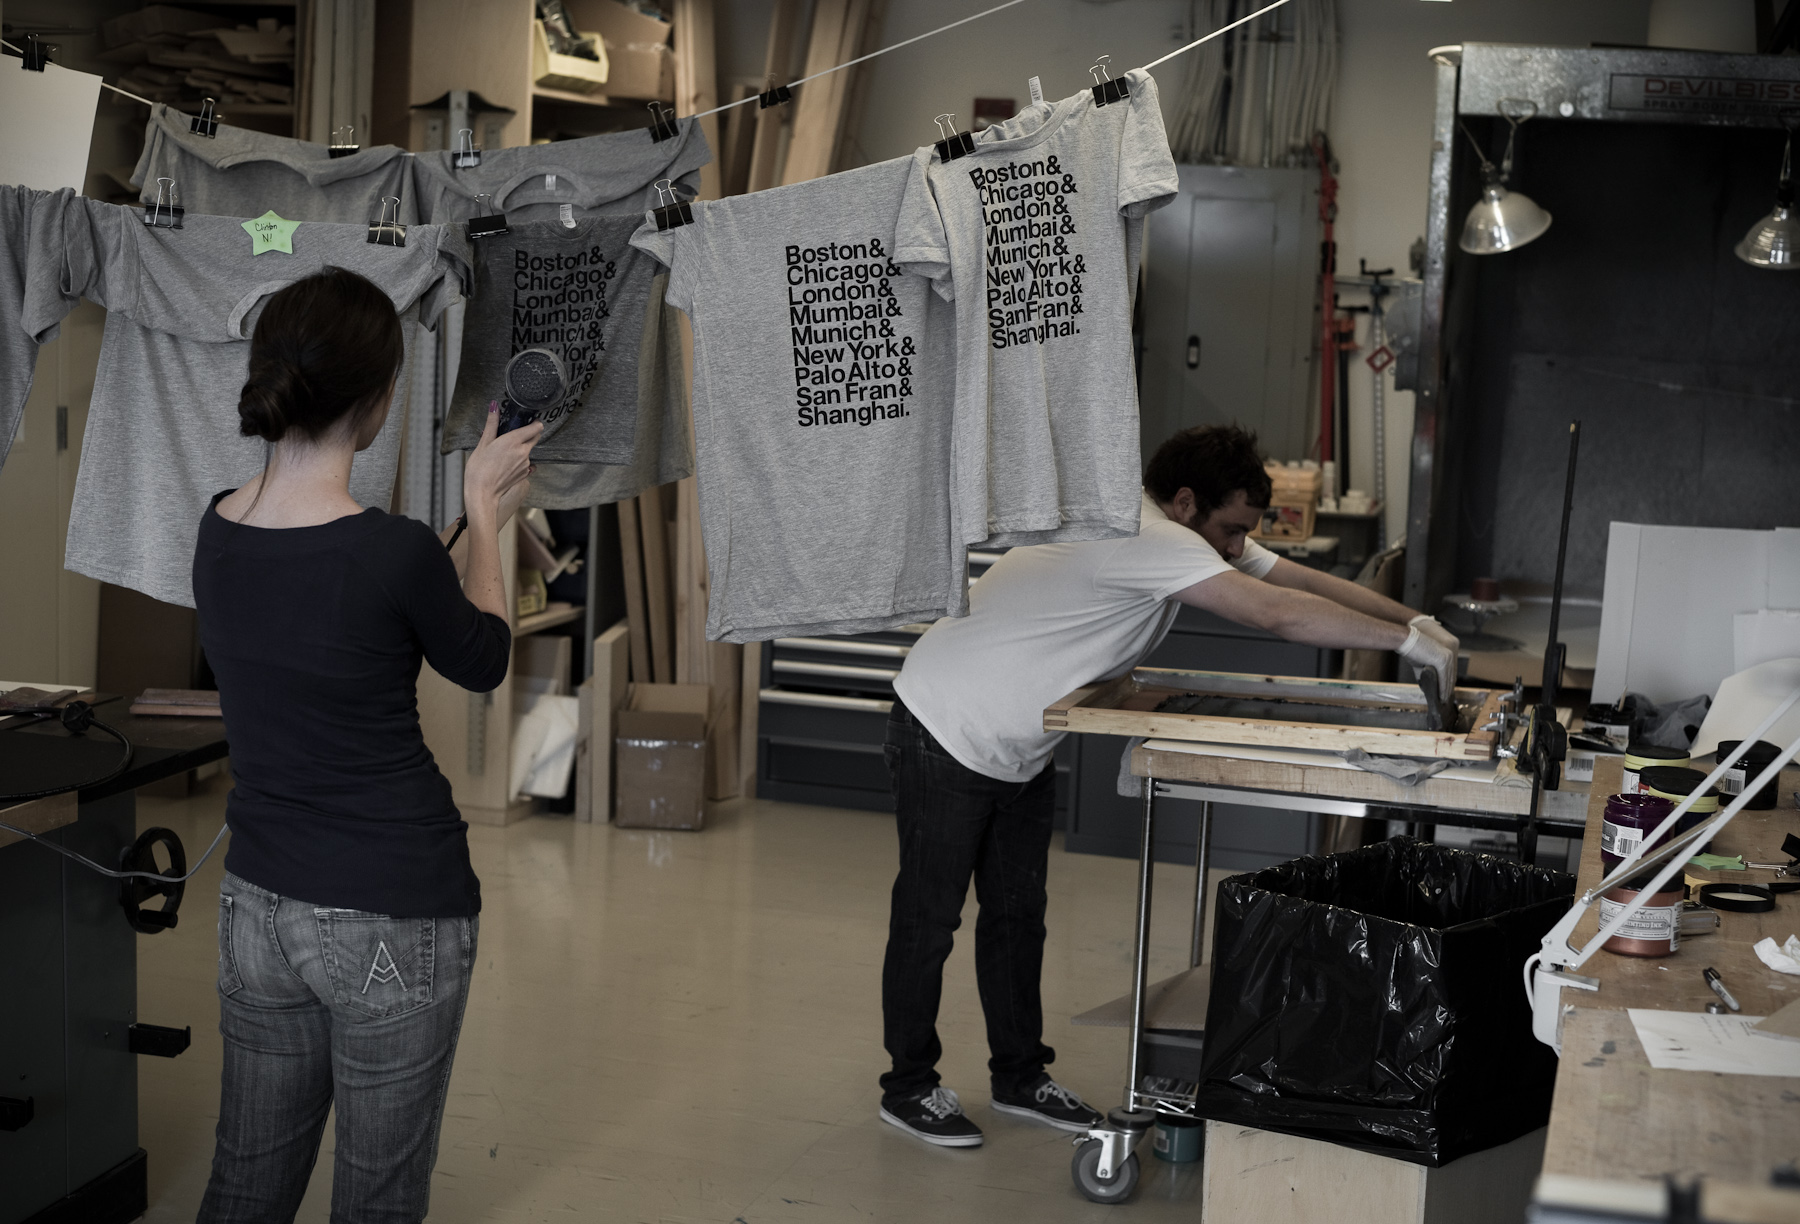
I made it to IDEO Boston just in time to become the newest employee of their underground t-shirt ring. Not really, we just printed t-shirts for the summer outing. There were 5 designs, about 60 shirts in all. My shirt suggestion was an ode to Experimental Jetset with the locations of IDEO. Although after seeing all the designs on hangers, my favorite design was Matt Brown’s, The Summer Monster featured above.
Photography By Dirk Ahlgrim

It’s everything I imagined it to be and more
It’s amazing what people will do for a BBQ.
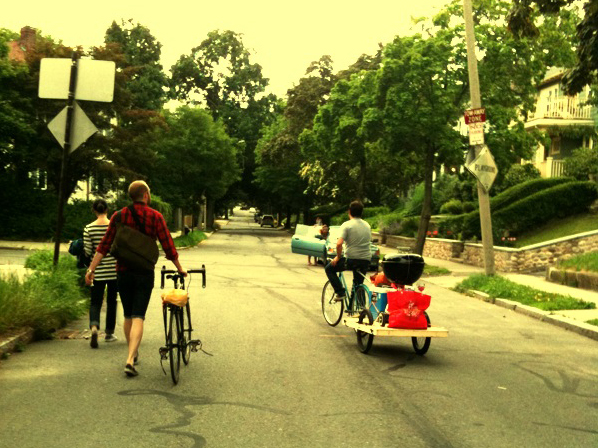
Living in a city can make enjoying a hamburger with your feet in the grass harder than it should be. First of all, the only grass I can put my feet in-without upsetting a home owner-is the park 4 blocks down the street. It would be a wonderful place if only I could cook a hamburger there. For some reason the city of Brookline, MA doesn’t want me “eating good in their neighborhood”. I will say, I wouldn’t mind going a little further to enjoy some chard meat in a public place but public grills are very few and far between these days. I say that now, but even if I knew of a grill 2 miles away I would still have to cart a case of raw meat and condiments down there in order to have a decent meal.
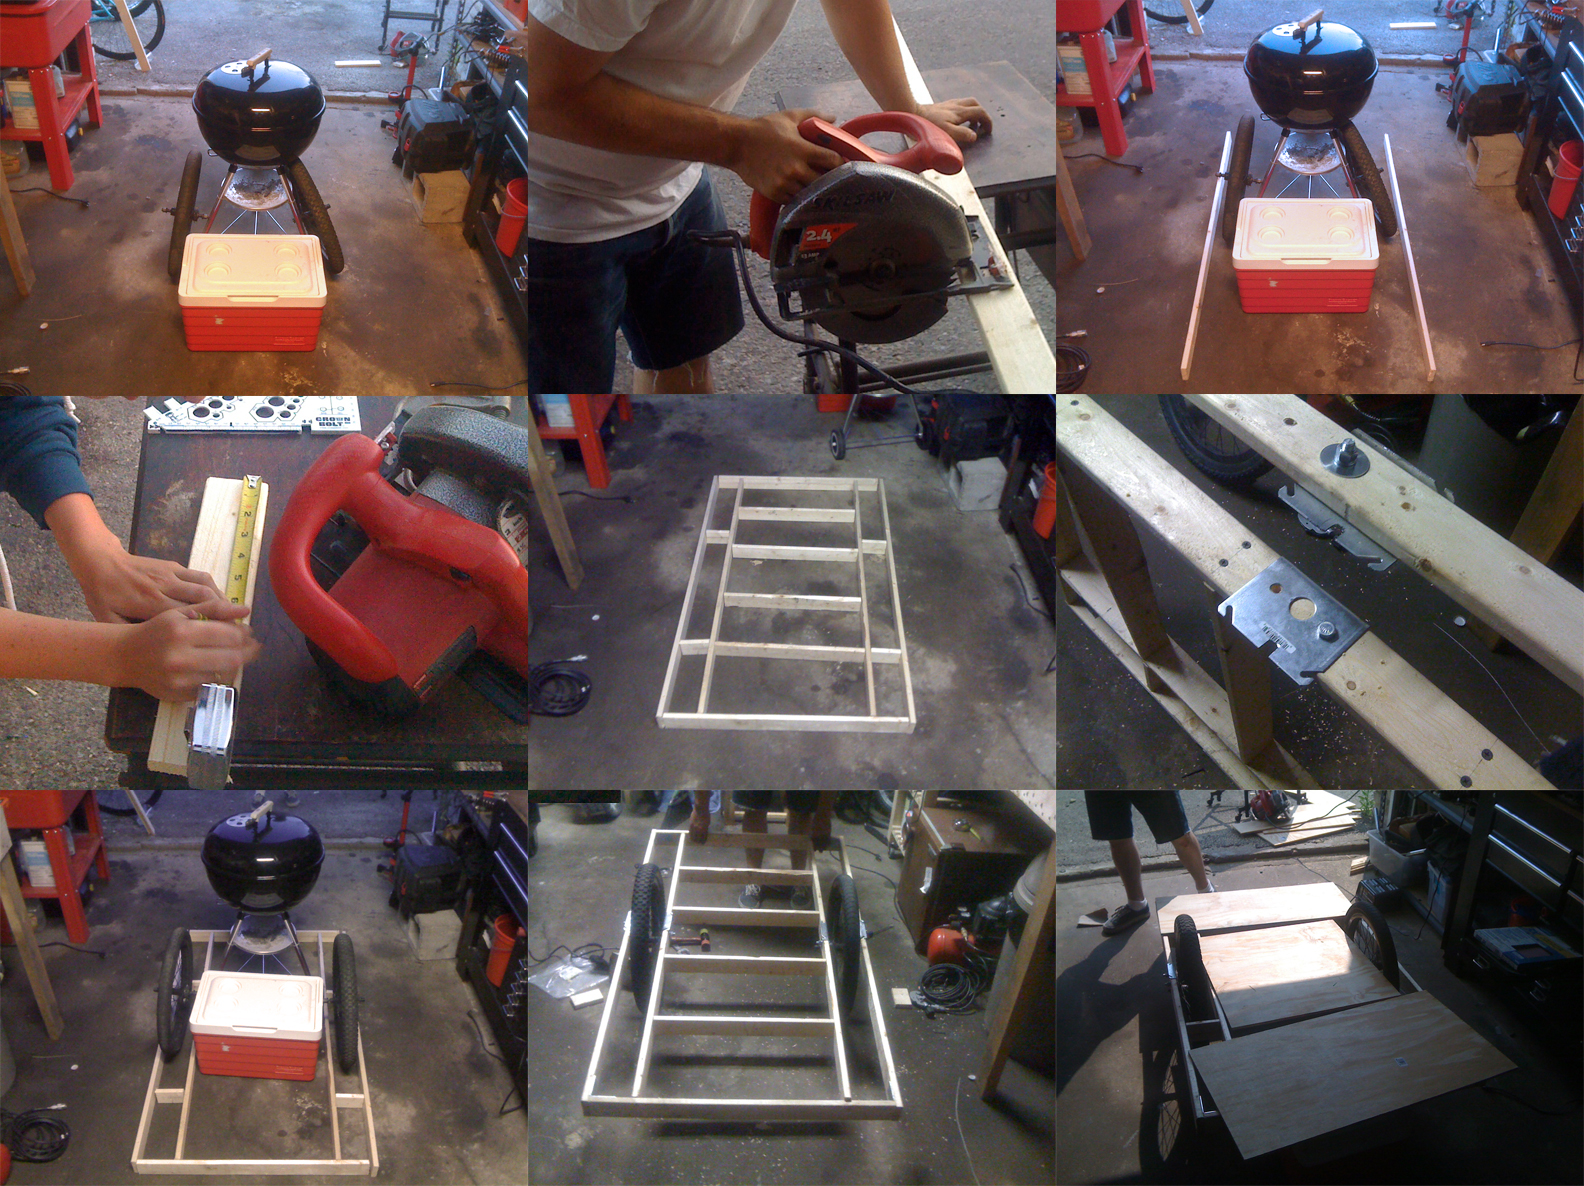
So here’s our solution; the G-Rilla Bike Trailer. Kim and I built it to solve the city BBQing problem. Much thanks to howtofixbikes.ca for their excellent cheap trailer solution. We made a few size modifications, hitch improvements, and beefed up the wood from 1×2 to 2×3 to hold the size and weight of the grill and cooler. You can find our hitch solution here. I highly recommend this build, it has come in handy on many occasions.

Connecting a trailer to your bicycle is easy if you are willing to spend the cash on a fancy off the shelf model. However when it comes to attaching a home brewed trailer there aren’t many off the shelf options. I did some research on bicycle trailer hitches and settled on the Trail-Gator “extra hitch” for $18 on amazon until I found out I had to wait 2 weeks for it come in.
My impatience drove me to a DIY solution that works like a charm.
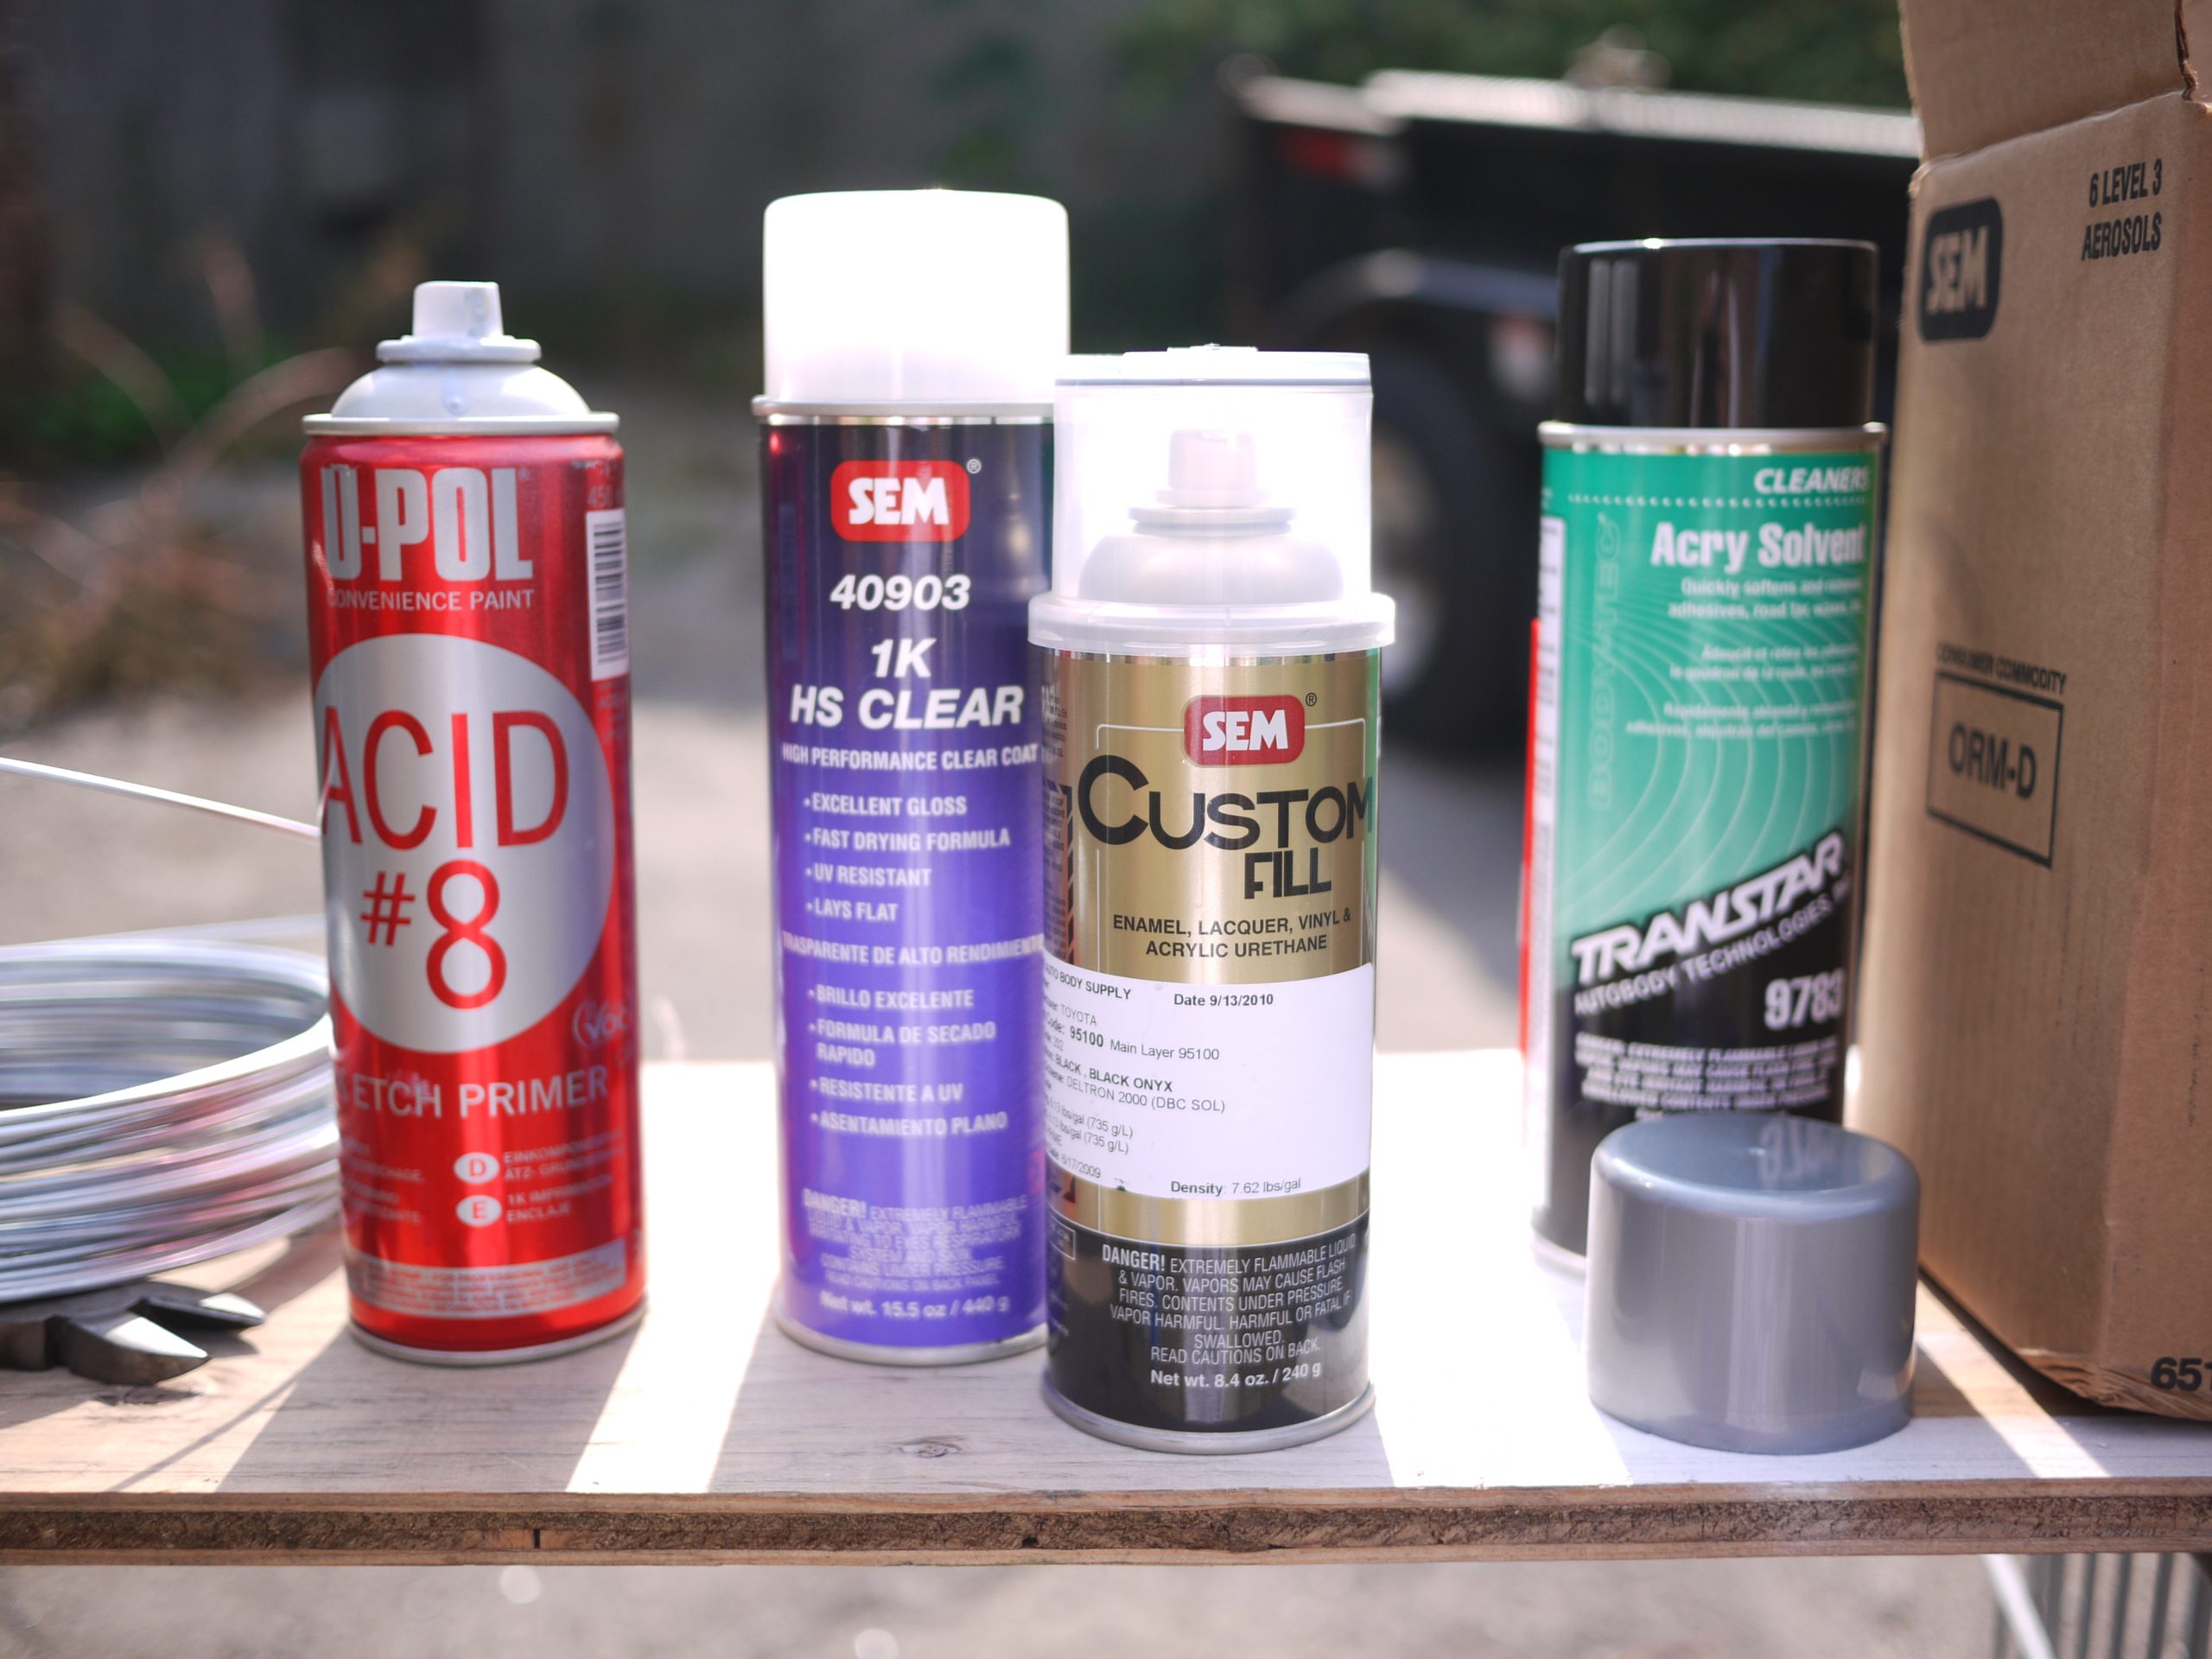
All you’ll need:
• A small caster wheel from Home Depot
• 2 washers
• A welder (or a friend with a welder)
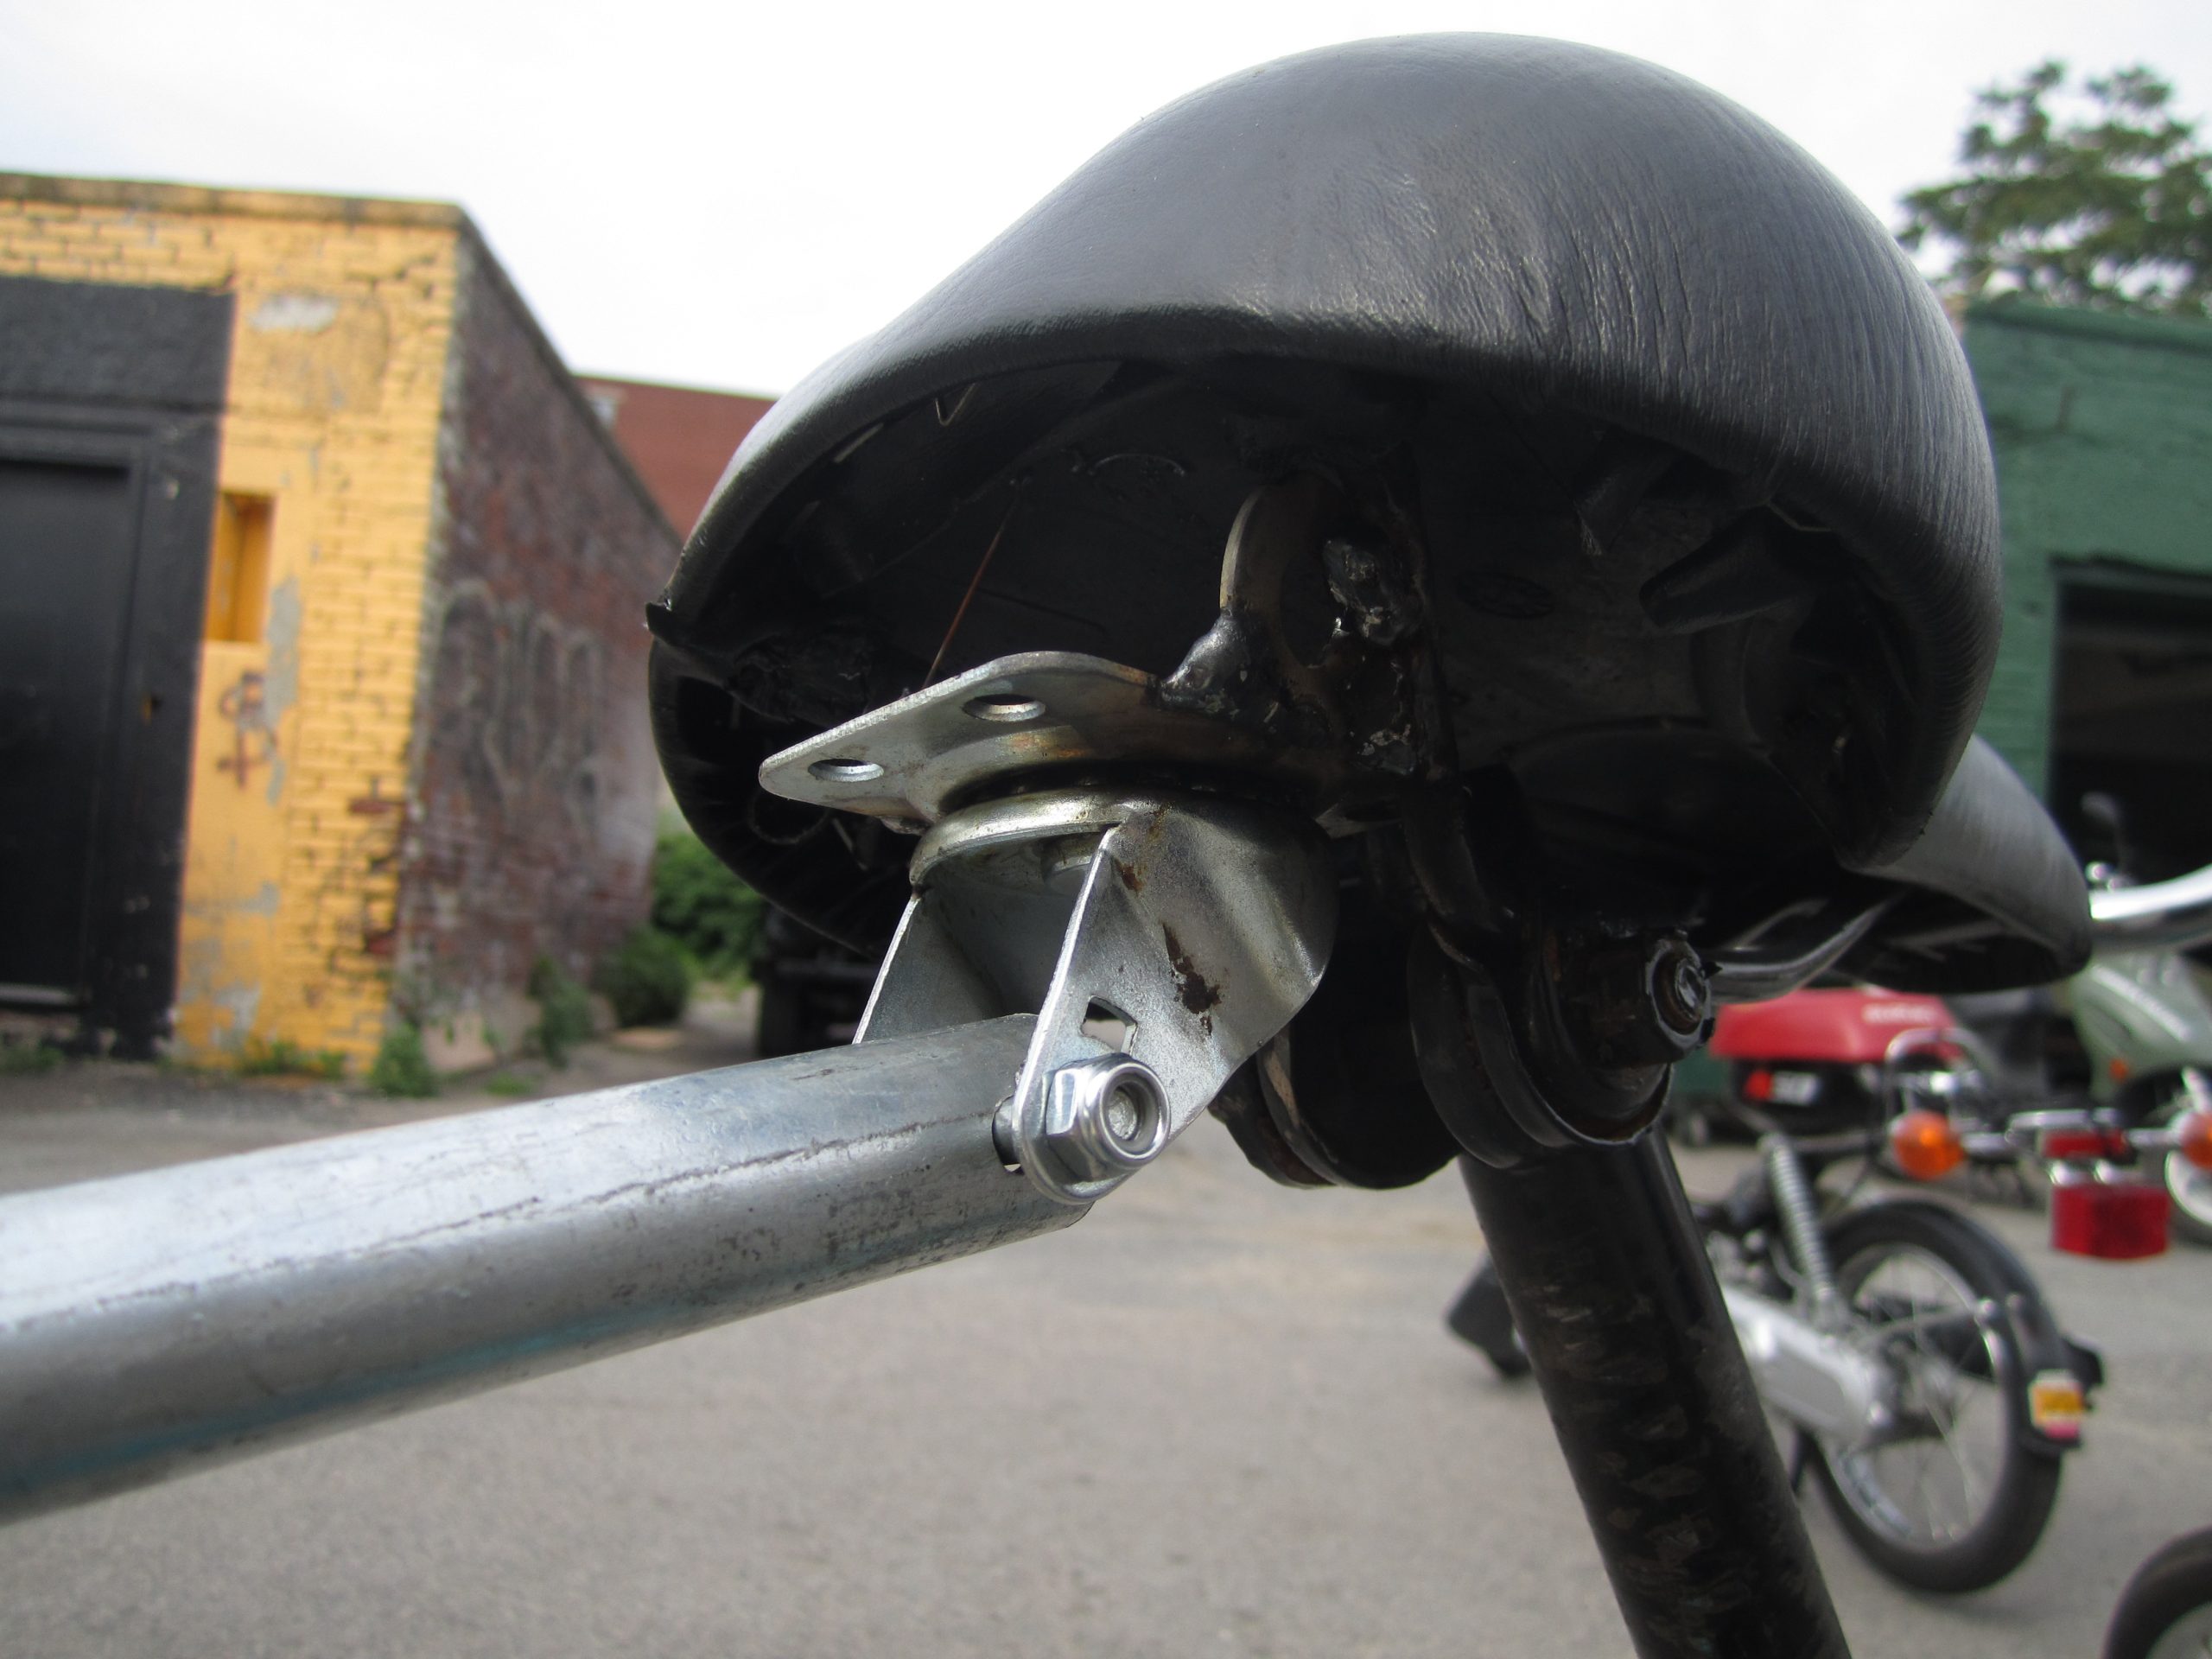
I chose to attach the caster to a bike seat, making it easier to swap the trailer with different bikes. After bending the galvanized pipe from the trailer to the back of the seat we welded 2 washers to the bottom of the seat to level out the caster wheel and act as support braces. The pin that held the wheel on the caster housing now holds the trailer post in place. All together it took about 20 minutes and cost about $3.